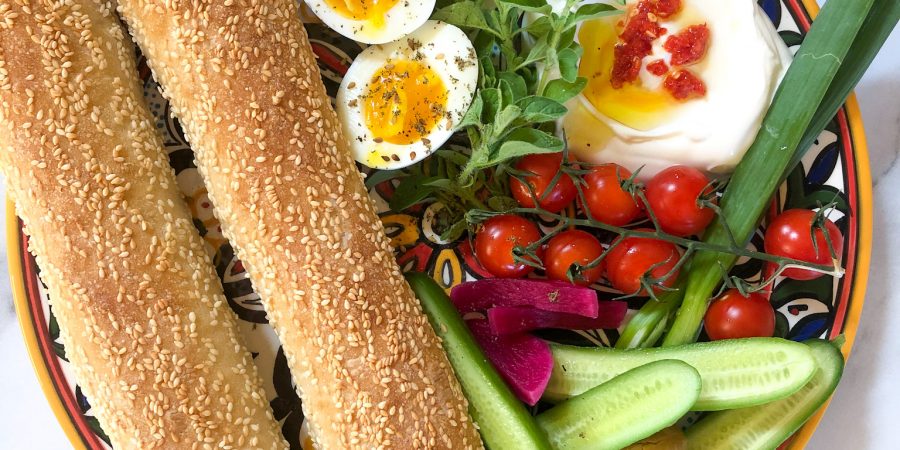
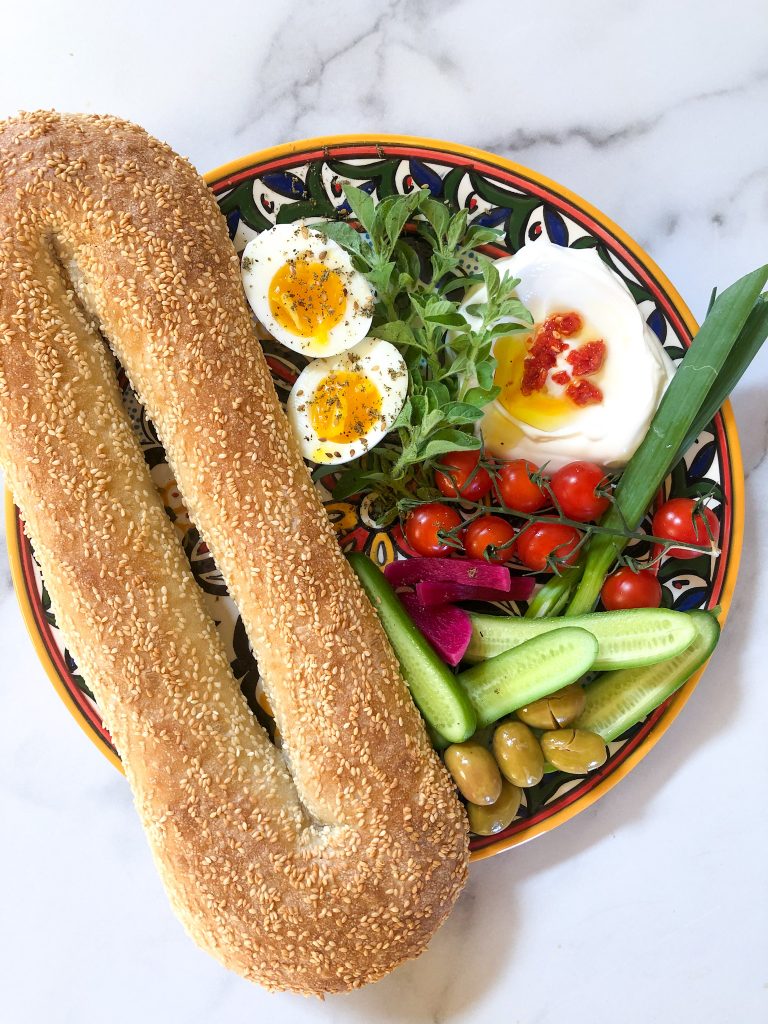
Ka’ak Al-Quds. Stop anyone who has stepped foot in the old city of Jerusalem and ask them where or what they should eat. Of course, Ka’ak will be on the list.
As you walk through the old city, you’ll see carts with stacks upon stacks of beautiful golden ka’ak. The smell and sight alone will make you stop, but of course, the men at the stands call out “Fresh Ka’ak! Fresh Ka’ak” and reel you in to buy one, or two, or a whole bag!
It’s been maybe a decade since I’ve visited Al-Quds. But I have continued to crave Ka’ak. For that reason, I have to bake it right here at home.
Call me crazy, but I’ve watched so many interview and news videos about the bakers of Ka’ak Al-Quds to help me understand how to make this bread.
Here’s what I’ve learned from the bakers:
The ingredients are *very* simple. In numerous videos the bakers specifically stated that the only ingredients in the dough are: flour, yeast, salt, sugar, and water. I’ve decided to add a littleeee bit of oil in my recipe because oil often helps make the dough more manageable to work with. I really believe in trying to be as authentic as possible when recreating such beloved recipes — so I’ve avoided adding milk, yogurt, or using an egg wash of any sort.
This is a true labor of love for the bakers in Jerusalem. Many of them begin the process at “maghrib” or sunset, light the ovens around midnight, and finally begin baking through the night.
What gives Ka’ak Al-Quds a truly distinct flavor are the olive-wood fired ovens they are baked in. A few bakers in interviews I’ve seen have claimed that Ka’ak baked in neighboring Palestinian cities just aren’t the same as the ones baked in Jerusalem. I also know relatives who have said the same. Maybe it’s like San Francisco’s Sourdough…it’s always best in San Francisco!
Disclaimer: Before you bake this bread, I am going to warn you…nothing will ever beat the Ka’ak that you will eat in Jerusalem, BUT…this recipe is pretty darn close and it’s given me such nostalgic happy feelings. I truly hope you enjoy it as much as I have!
Ingredients:
Makes 6-8 Ka’ak
6+ cups all purpose or bread flour
1 tablespoon salt
3 cups warm water
2 1/4 teaspoons yeast
1 1/2 teaspoons sugar
2 tablespoons vegetable oil or light olive oil
Topping:
1 1/2 cups raw sesame seeds
1/4 cup water
Before you begin this process, I suggest you watch this video …I promise it’s a short 3 minute video and in it you’ll see pro-Ka’ak bakers. This is the video that I’ve based my proofing and shaping process on and I found it SUPER helpful.
In a large mixing bowl, combine the sugar, yeast, and the warm water. Allow it to sit for about 5 or so minutes until the yeast is activated.
In another mixing bowl, combine the flour and salt and mix thoroughly. Add the dry ingredients into the wet ingredient bowl and begin kneading until you have a well combined and smooth ball of dough. If you’re kneading this by hand, you’ll probably need about 7-10 minutes to knead it until smooth.
Note: There are days when 6 cups is enough and there are days when I have to come close to 7 cups of flour– it depends on the flour I’m using, the climate, etc. Ultimately you want a well combined ball of dough that isn’t sticking to your fingers.
Transfer to a clean, lightly oiled bowl. Cover and allow the dough to rest for 1 hour or until double in size.
Remove the dough from the bowl and divide into equal pieces. Traditional Ka’ak is quite large. If you’d like to attempt making them like the real-deal, divide into six equal size pieces around the size of a softball (see video above for size reference)…if you want to keep it on the smaller side, divide into eight. Transfer balls of dough to a tray with parchment paper (it also helps to lightly flour it). Sprinkle just a bit of flour on top and cover because as you’re working witch each ball of dough you don’t want the others to dry. Let them rest for 10 minutes or so.
Roll each one into a long tube with a diameter of about 1 1/2 inches and then shape into an “O” shape. Take one end of the tube and lay it over the other end, give it a slight squeeze so it holds the “O” shape and doesn’t come undone. Transfer back to parchment paper, cover, and allow it to rest for 15-20 minutes.
Pour the sesame seeds into a very large, clean tray (you want some space to work!). Add the water to the sesame seeds and mix. If you’ve got sesame seeds sticking to your fingers, you’re good!
Grab each “O” of dough and plop it into the sesame tray. Cover the entire “O” with seeds. Working in the same large tray begin stretching the “O” until you have the signature Ka’ak shape.
Place Ka’ak onto a tray lined with parchment paper, cover and allow it to proof one last time for 1 1/2 -2 hours. This will be the same tray you’re going to bake them in. Allowing the Ka’ak to rest for the full hour will yield better results. Your ka’ak will be have the larger, thicker look and it will feel light when you bite into it later.
Preheat oven to 500°F. Bake for about 12-15 minutes or until the tops are golden brown. I found that baking it on the bottom rack worked best. Keep an eye out for the sesame seeds. If you burn the sesame seeds, they will taste bitter!
Sahtain!


Would you suggest I let it proof overnight, just to save time in the morning? So when we wake up and start prepping for breakfast, I can just prop it in the oven?
Hi Diane! I’ve never tried this recipe with an overnight proof. But if I was going to attempt it, I would do the first bulk rise overnight and then divide up, shape them, and let them proof the next morning.
Sarah,
Thank you for an outstanding recipe. My niece passed it a long to me and I tried today and the ka3ek turned out amazingly delicious. You took me 30+ years back when I used to work at Al-Maqased hospital and used to go and buy it fresh from the old city. Thank you. I wish if I can attach a picture to show you.
Best,
Amin
Thank you so much for taking the time to try the recipe! I am so thrilled to hear that you enjoyed it! — Sahtain!